Engage
- Challenge students to brainstorm a list of ways plants are important to people and other animals. List their responses on a piece of chart paper or the board. If the list does not include the fact that plants provide food energy, ask students where the energy they need to live and grow comes from.

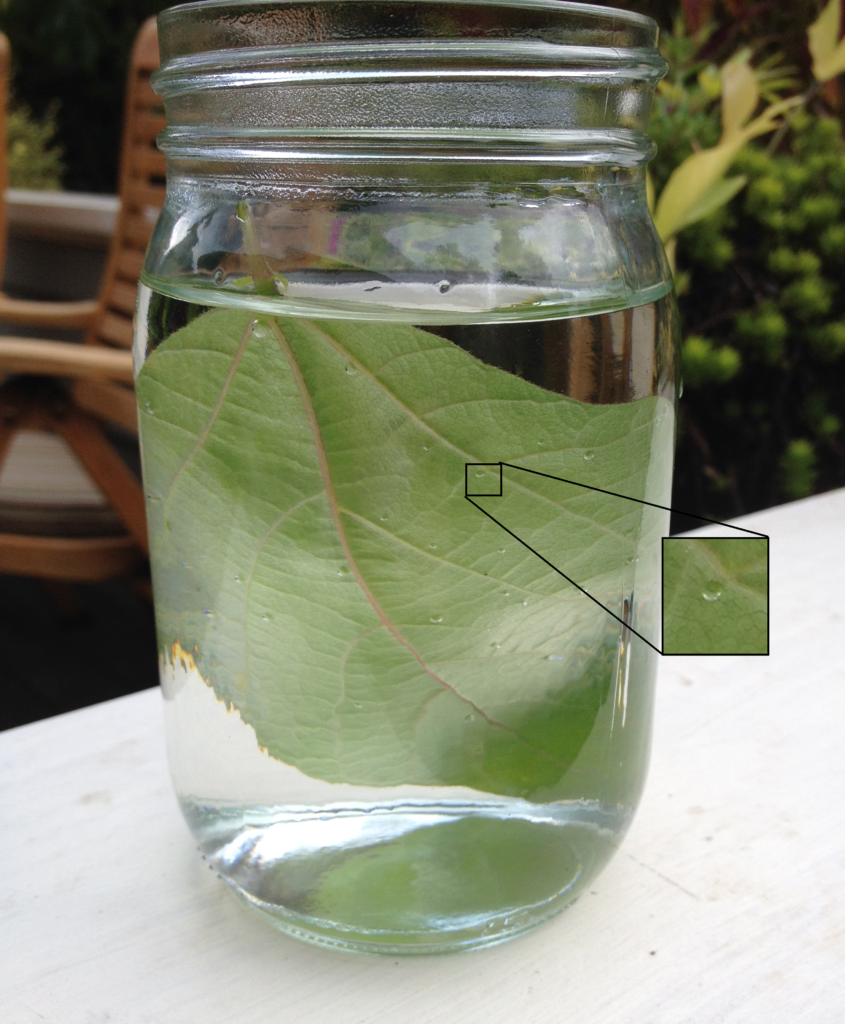
By placing a leaf underwater you are able to see the gas exchange that occurs during photosynthesis.
Photo credit: Leslie Comnes
- Ask students what they understand about how plants make food energy. Show students the demonstration set-up or video (see Getting Ready) and ask them what they observe. What do they notice on the leaves? Where do the air bubbles come from? What happens if we move the leaves out of the light? What do they think is going on?
- Show students the other leaves you have collected, and have them look at the small holes in the leaves (stomata) using a magnifying lens. (Most of the stomata are found on the undersides of leaves, although there are a few on the upper surface and stems as well.) Ask what new information this might give them for solving the mystery of the air bubbles.
Explore
- Ask students what factors they think are necessary for plants to grow (air, water, sunlight, soil, and mineral nutrients). Record the factors on the board or on a piece of chart paper.
- Tell students that they are going to investigate to learn more about what plants need to grow. Show students the seedlings you have started and explain that they can use these seedlings—and the other materials you have gathered—for their investigations.
- Depending on your class, you may have students design their own investigations, or use the one described in Step 7 as a model. If students will be designing their investigations you may choose to use the Planning Your Power Plants Investigation student page. Help them think through each step of their investigations, and predict what might happen. Then, help them conduct their investigations. Make sure that they understand the need for a “fair test,” keeping everything the same (the control condition) except for the one thing they are testing (the test condition). That will enable them to know that any differences they observe are due to the test condition. You may also choose to have them use the Measuring Plant Growth student page to record their measurements and observations.
- As an alternative to students planning their own investigations, you may have teams use the What Happens if Plants Don’t Get Sunlight, Water, or Soil? student page, which outlines the following investigation model:
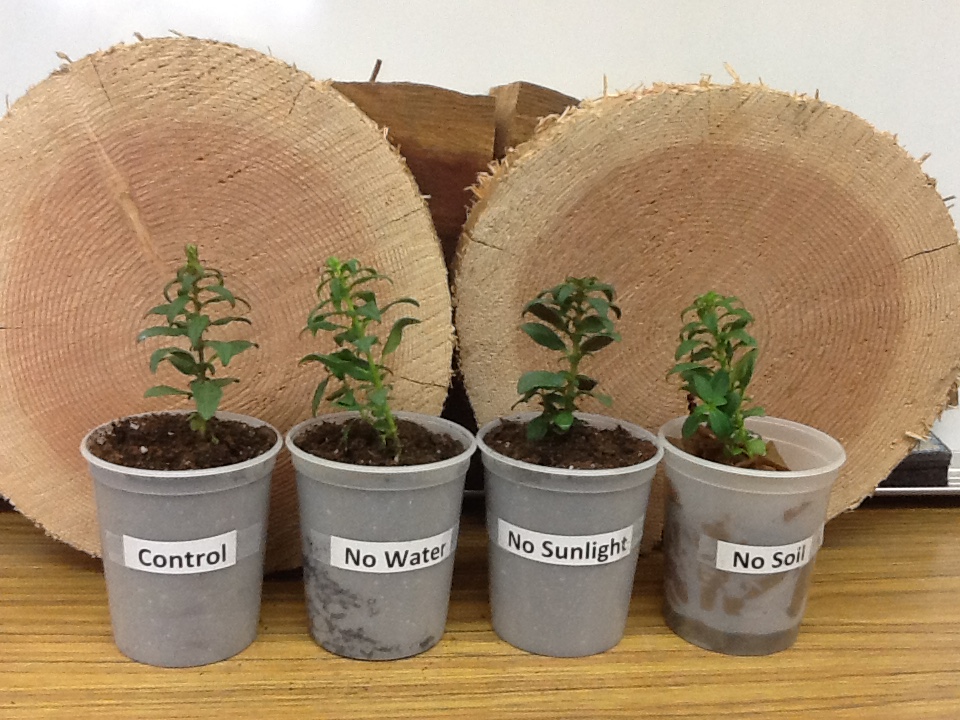
- Control – Plant four of the same type of seedlings in four separate containers of potting soil. Label these containers “Control.” Place them near a window or other light source. Decide on a watering schedule (such as daily or every other day) and amount to water each time.
- Test for Light – Plant four of the same type of seedlings in four separate containers of potting soil. Label the containers “No Sunlight.” Place them in a dark cupboard or closet. Water the same as the control.
- Test for Water – Plant four of the same type of seedlings in four separate containers of potting soil. Do not water. Label the containers, “No Water.” Place them near a window or other light source, the same as the control.
- Test for Soil – Line four containers with wet paper towels and place four of the same type of seedlings in the containers. Label the containers, “No Soil.” Place them near a window or other light source, the same as the control. Add water to keep the towels wet.
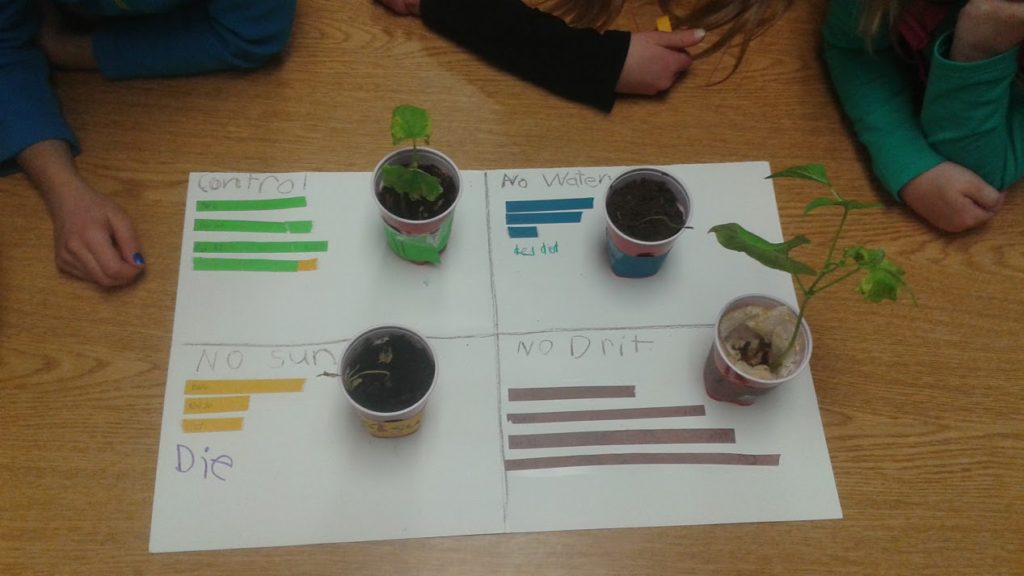
- As the plants begin to grow, have students measure and graph their heights twice weekly, using the Measuring Plant Growth student page to record their data. Younger students can use construction paper strips to find the height of the plant and can glue the strips onto poster board to make a bar graph.
- Encourage students to take digital pictures of their plants at different stages of growth to display with their measurements.
Explain
- Ask students the following questions at the completion of the investigation. Students may discuss the answers as a group and write them in their science journals.
- Which plants grew the most? Which grew the least? Why do you think that was? (Identify your claim for why that happened, and then support it with evidence and reasoning from your investigation.)
- What other differences did you observe among the plants?
- What does a plant need to grow? How do plants get each of those things?
- What happens if a plant doesn’t get enough sunlight? Water? Soil?
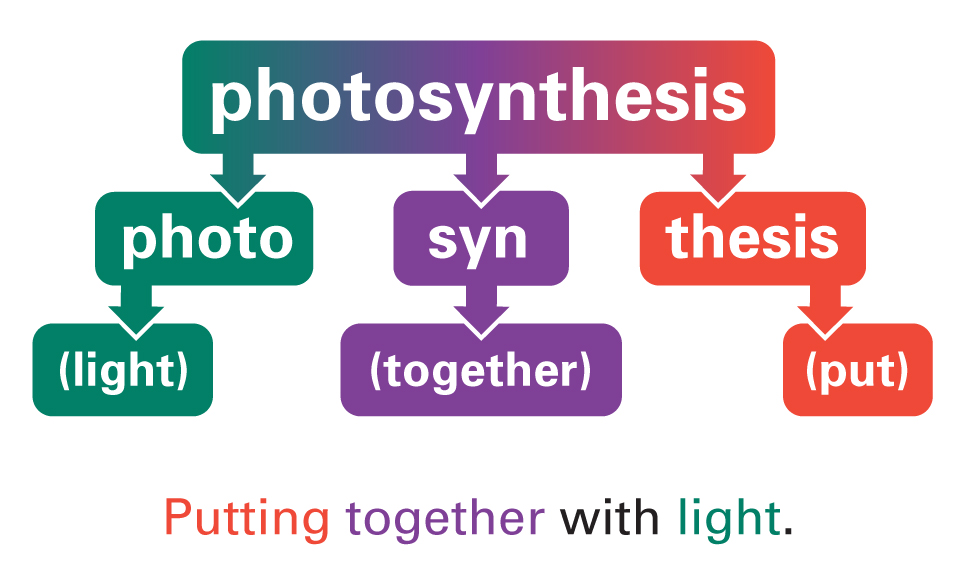
- Have students think back to the demonstration or video from Step 1. Ask them if they have any other ideas about what created the bubbles. Introduce the term photosynthesis, if students don’t already know it. Point out that in Greek, photo means light, syn means together, and thesis means to put. So, photosynthesis means putting things together using light. Explain that the bubbles were made of oxygen given off by the plant through their stomata during the process of photosynthesis. Leaves are able to take carbon dioxide and water, and using energy from sunlight (or light energy from a lamp), create food (carbohydrates) and oxygen.
Elaborate
- Give students copies of the Plant Producers student page to complete.
- Have students make a small “flip-it” book that shows photosynthesis in animation. Give each student four 3” x 5” (7.6 cm x 12.7 cm) index cards and have students cut each card into quarters so that they have 16 small rectangular cards. Have students draw small pictures on the far right edge of the cards, starting with a plant on each card and adding the elements of photosynthesis, one by one per card. Stack the cards in order and hold them on the left side with a thumb and forefinger. By flipping through the cards on the right side, students will see a model of photosynthesis.


